

Junk Yard Tours
Stripping a 64 Impala, Baltimore, Md.
If you spend enough time looking for junk yards with 64 Impala's and talking to enough people, you're bound to find a car worth stripping. I stumbled over this one while killing some time online at Craigslist. It has some valuable pieces that I wasn't interested in. It had a full set of SS rally wheels including a spare. He wanted $125 each for those, and he was assuming the drive train was worth a few hundred as well. I couldn't get enough parts off of it that I was interested to make it worth paying $1000 and have to sell off the difference.
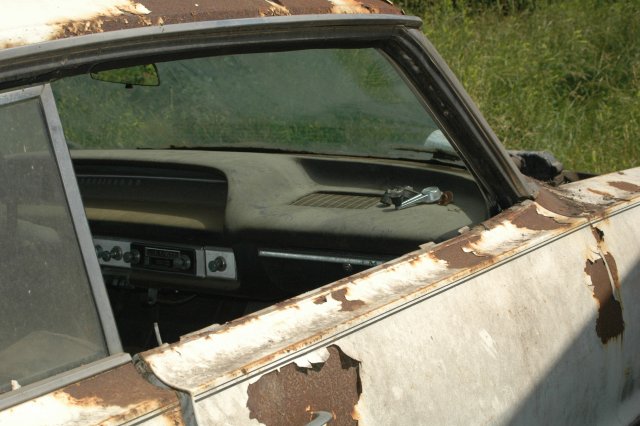
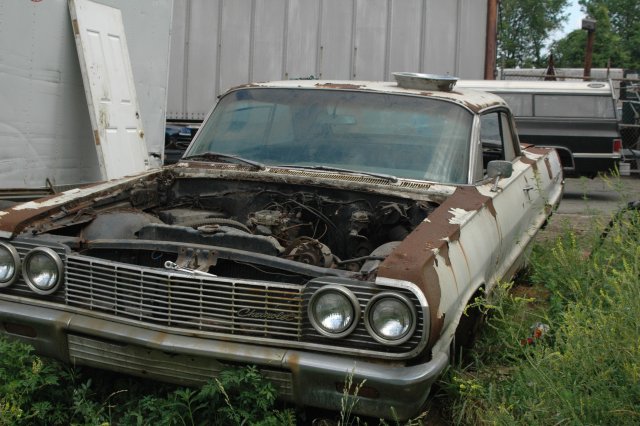 This 64 Impala happened to be local to Baltimore. The guy owned a junk yard in the past and wanted to get rid of a 64 Impala 2 dr ht that had rusted beyond belief. There really wasn't anything on the body that could be salvaged. This was one rusty classic car. I've never seen them this bad before, not even in some junk yards.
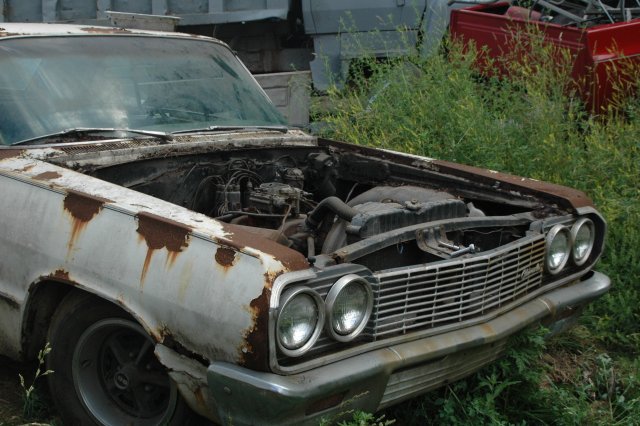
He's had this classic car for the last 20 years. It was a junk yard car when he got it, but it was complete and in good shape when he put it in storage. This 64 Impala was put in a semi trailer about 10 years ago when the paint was still shiny. Of course he thought that would keep out of the elements. Wow! What a surprise.
The 64 Impala parts I'll need to strip
Since this 64 Impala was complete with no significant damage, the parts that were on it were in fair shape. I thought I'd use this as an exercise in removing a lot of the chrome amongst other things. Some of the moldings can be difficult to remove. I was paying $500 for the experience so I thought I would make the best of it and try to develop some tools in the process, as well as testing out the removal procedure in the 64 Chevrolet shop manual.
I knew the windshield and rear window reveal molding were going to be a serious challenge. I've already screwed them up on my 2 door 64 Impala while trying to remove them without the right tools or the experience so I really need the practice and a chance to get some replacements. I'd replaced the windshield weatherstripping on my 4 door 64 Impala but that was 10 years ago and I couldn't remember the details. I'll attempt to cover the details this time around.
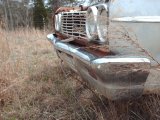
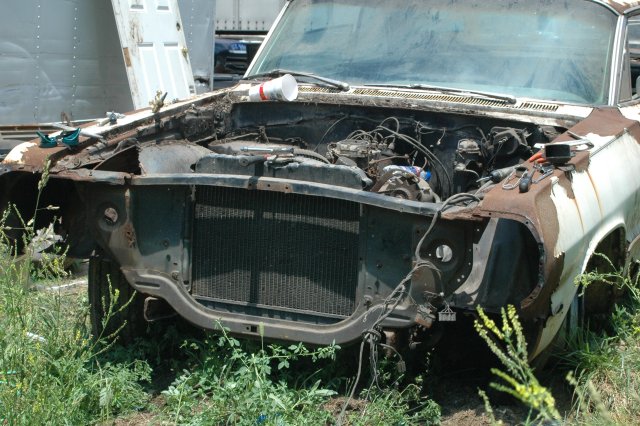 I started with the front bumper and front clip. This took about 2 hours to remove, some fasteners had to be cut off with a torch. You have to take a lot of care in doing this so you don't burn other important parts.
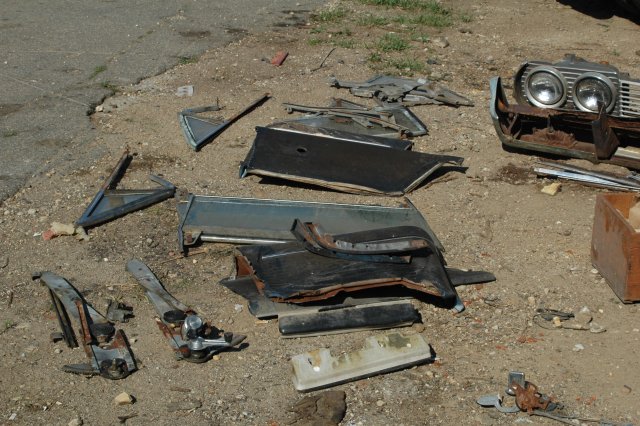
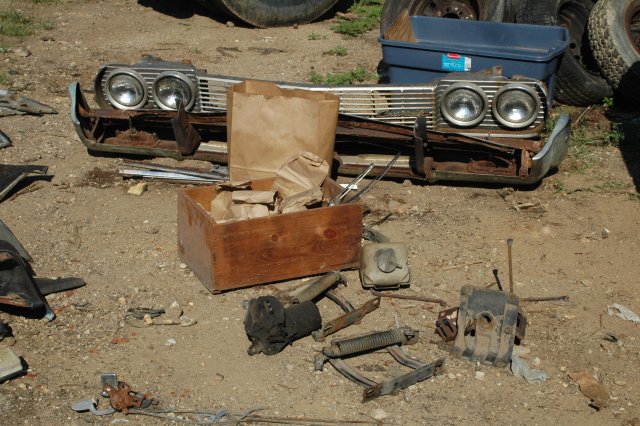 The grill section was still in fair condition. This wasn't the original grill though. The 64 Impala grill is fastened to the cross bar with blind rivets at the factory. This one had truss head screws in their place. Other evidence of this 64 being in an accident once was the lower filler panel was creased like it had been hit and straightened at some point in time. The bumper was straight though.
It's not so much the chrome parts of the bumper on a 64 Impala that are important, but the bumper braces. You can buy some bumper braces for the 64 Impala that are made new in China but you have to get the all important cross bar and center support used.
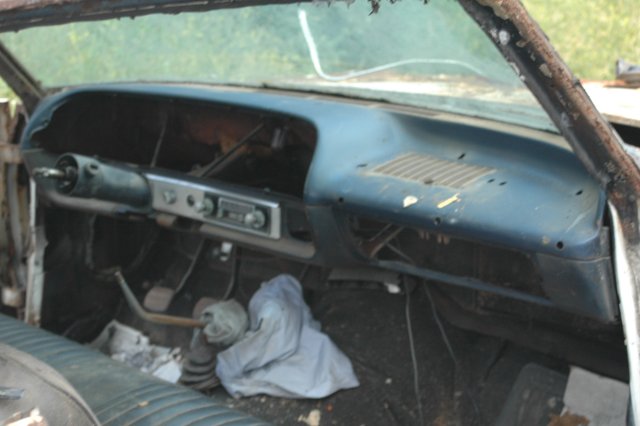
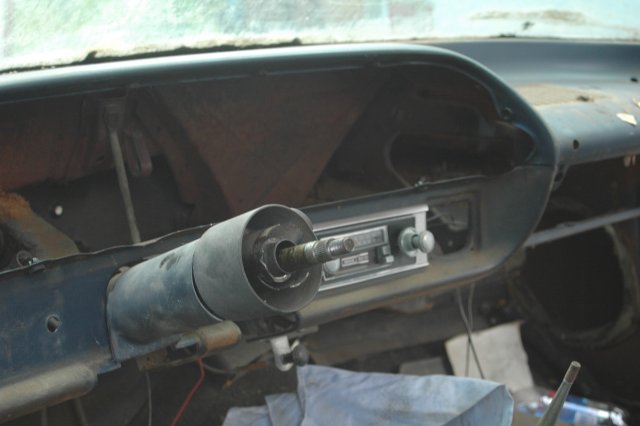
My 2 door 64 Impala was stripped when I got it. Everything under the dash was missing including the wiring. So, while I was at it I took all the wiring harnesses and any retainer clips along with it. You can't buy retainer clips anywhere that I'm aware of. Aveeco makes some clips but only for things in high demand, like molding clips.
Since the wiring schematics in the Chevrolet shop manuals are so cryptic, I can use the wiring harnesses to create a better set of schematics showing ground terminations, connectors, switches and light sockets.
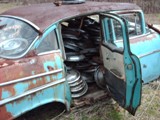
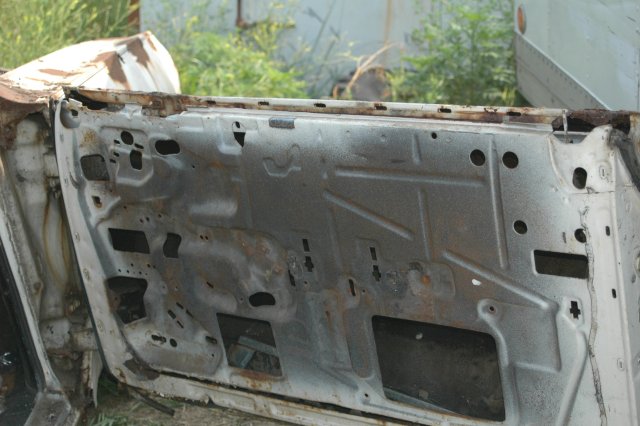
Everyone just loves gutting the doors.
 The window regulators are a good find if they aren't too sloppy. They are often siezed from lack of use or the drivers side is worn out. These ones were still functional so I took all of them as well as the windows and guides.
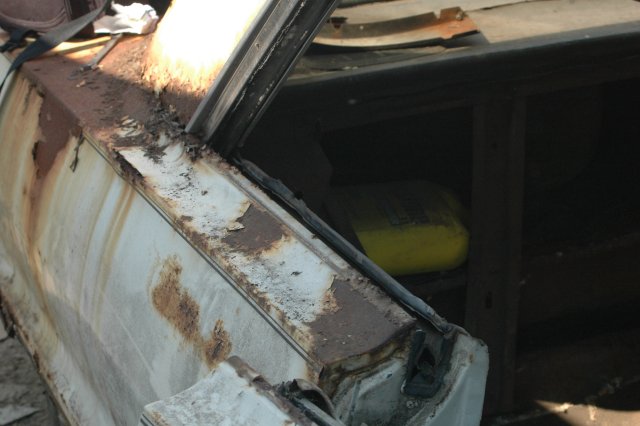
 The moldings at the tops of the doors on a 64 Impala can take some time to recover. They're made of stainless steel, but the screws aren't. The screws are often so badly rusted that removing them with a screwdriver requires using a dental pick to clean the dirt and rust out of the head to make sure the screwdriver bites properly. If the screws are worth saving that is. Even still some couldn't be saved and I had to use a sharp chisel to knock the heads off. I managed to pull that off without even scratching them. These old rusty screws are brittle so the heads break off easy.
What to do with all those fasteners!
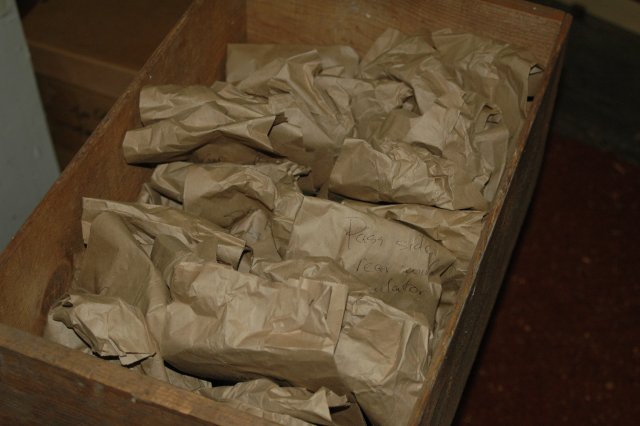 I was careful to inventory the screws based
 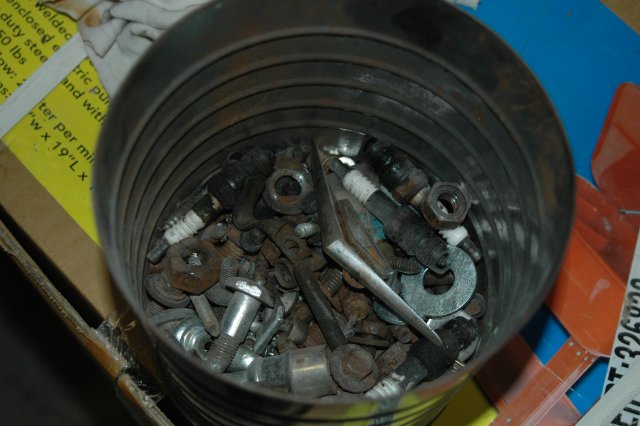 on the parts they held so I can develop some disassembly guides against the fastener count. I used paper sandwich bags and wrote the part name on the bag. This should be useful to the novice classic car restorer. You can imagine what it's like trying to find the correct fasteners a couple of years from now if they were kept like these ones in the can. A poorly organized disassembly is the death of many classic car restoration attempts.
64 Impala tail light lenses everywhere.
The tail light lenses on this 64 Impala were nothing special as are most used lenses you'll find. The tail light housings were usable though. They'll take some cleanup to sort out the best ones. If you are stuck on American made parts you'll usually need to find about 20 or so taillights to come up with a good set of 6 for your 64 Impala restoration. Most used tail light lenses are crazed with fine cracks from years of sun exposure.
I pretty much boned the interior with the exception of the seats. The interior had been redone so it wasn't original and the seat frames were pretty badly rusted. There were a lot of rodent droppings in the car so I didn't feel like taking the seats. Other rodents have a way of gravitating to familiar smells. I don't have a rodent problem now, and I don't want one. Someone, probably a homeless person had left a bunch of clothing in the car as well, some of them still on hangers.
|
|
|
Removing the moldings
 The chrome moldings under the drip rail were a bit of work. I ran into a few screws that needed beheading. Removing the drip rail chrome itself was a bit of a trick. It's not held on by any screws. It snaps onto the drip rail. Getting it off requires prying it from underneath at one end and twisting it as you continue to pry further down. You have to be careful you don't use too much force. You don't want to put an abnormal curve in it.
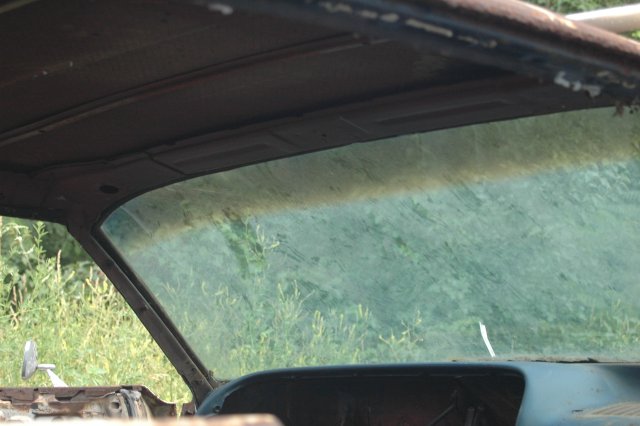
Removing the windshield and rear window reveal molding was a real test of patience. The sun was hot, and the window was almost too hot to lean on as I worked on the molding clips. 44 years of dirt and rust had filled in any possible gaps surrounding the molding ensuring it didn't budge.
I first had to pry the molding up from the window rubber creating a gap so I could get a hooked tool under it. I used the hooked tool to scoop out the old dry butyl rubber caulking and locate the retainer clips. I used the picture of the reveal molding removal tool in the shop manual to create a few versions of the tool. In the end, the ones I spent the most time developing didn't work as well as the one I hurriedly made up after my originals broke. The last one that worked the best was nothing more than a tent peg that I bent in the middle to provide a torque lever.
I plan on doing a series of how to's on the things I've done while stripping this 64 Impala so you can expect to see those in the future. It's easy to see how it would be easy to destroy some parts unless you had some advance knowledge on how to remove them. I'm sure a lot of classic car restorers have had to replace a few parts for that reason.
July 17th 2008